Day 9 - Creating a .NET Core Console App inside of Visual Studio Code
Disclaimer: I am not on the .NET Core Team. I used the tools available publicly and have no insights into the future of .NET Core. It looks very bright though. :)
Intro
A complete list of post in this series is included below :
- Day 1 - Installing and Running .NET Core on a Windows Box
- Day 2 - Taking a Look at the Visual Studio Templates for .NET Core
- Day 3 - Running a .NET Core app on a Mac
- Day 4 - Creating a NuGet Package from .NET Core app
- Day 5 - Creating a Test Project from .NET Core
- Day 6 - Migrating an existing .NET Core to csproj
- Day 7 - Creating an ASP.NET Core Web Application
- Day 8 - Using Visual Studio Code with a .NET Core Console Application
- Day 9 - Creating a .NET Core Console App inside of Visual Studio Code
- Day 10 - Using JetBrains Rider with a .NET Core Console Application
In this post, we’re going to look at how you can create a .NET Core Console app without leaving Visual Studio Code. This is something that I’ve personally used only when wanting to test something quickly all inside my favorite editor.
PowerShell inside of Visual Studio Code
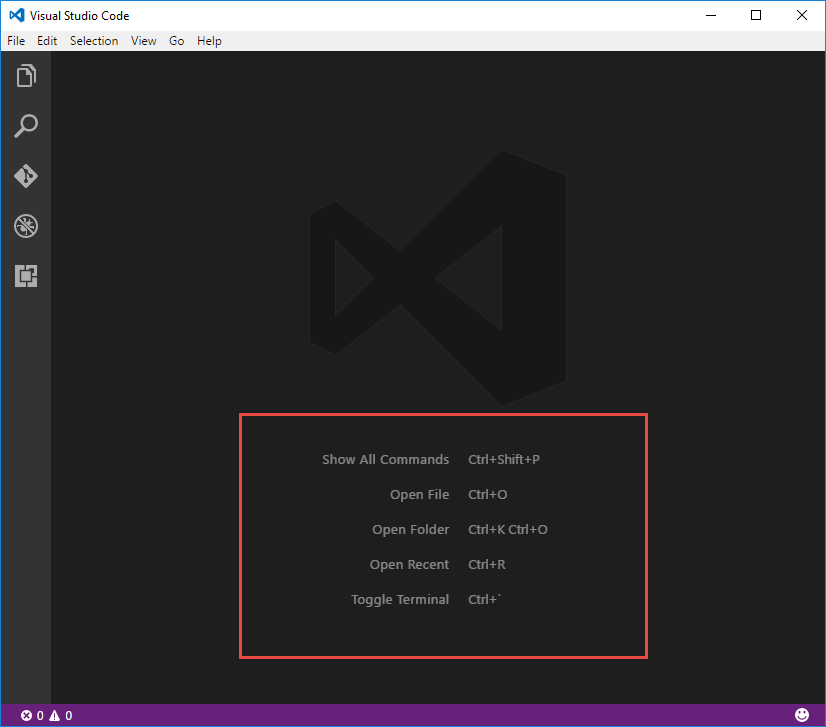
You should have Visual Studio Code installed if you’ve been following the series. If not, you can find it here or read my last post. Open VS Code and you will notice there is a Toggle Terminal command shown on the start screen.

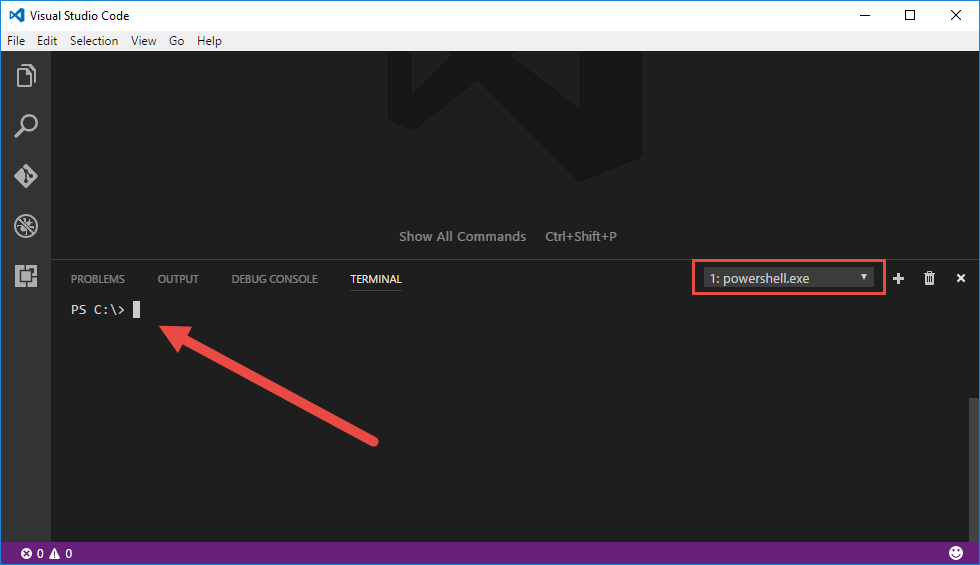
Press CTRL+` or go to View -> Integrated Terminal to bring up a PowerShell window.

Go ahead and navigate to a folder where you want to create your app and type dotnet --info to make sure it recognizes that you have .NET Core installed. You should see something similar to the following depending on what version of .NET Core that you have :
PS C:\working\consoleapp1> dotnet --info
.NET Command Line Tools (1.0.0-preview5-004275)

Product Information:
 Version:            1.0.0-preview5-004275
 Commit SHA-1 hash:  f1c16e59d6

Runtime Environment:
 OS Name:     Windows
 OS Version:  10.0.14393
 OS Platform: Windows
 RID:         win10-x64
 Base Path:   C:\Program Files\dotnet\sdk\1.0.0-preview5-004275
Create a new console app
dotnet new console
Restore the packages and build it
dotnet restore
dotnet build
Run the app
dotnet run
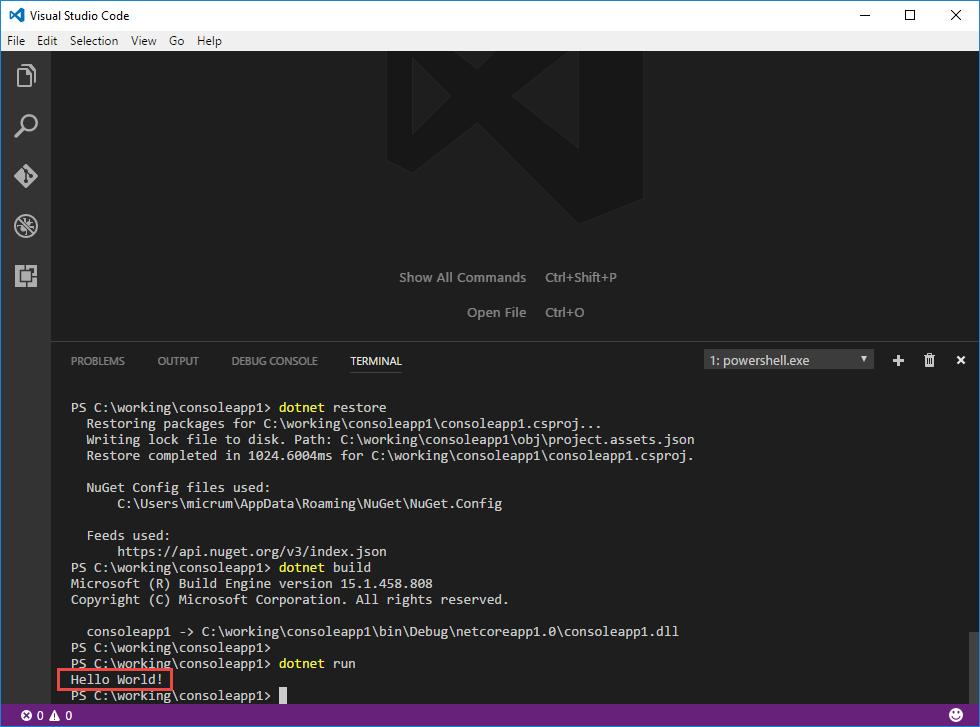
You’ll see the following like we’ve seen many times before :
C:\Users\mbcrump\helloworld>dotnet run
Hello World!
Your terminal window should look like the following :

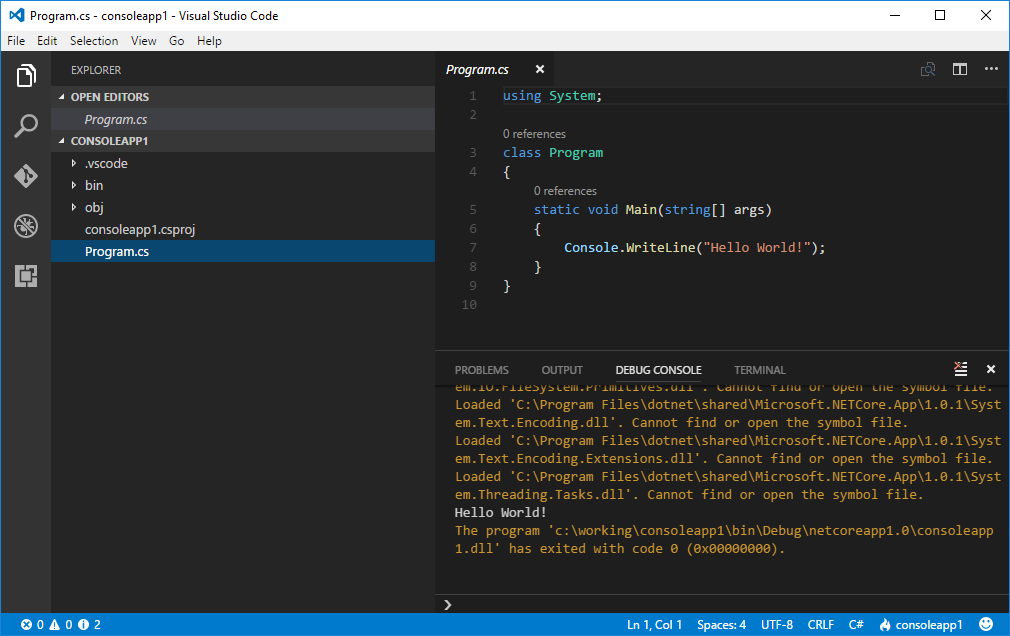
You can launch Visual Studio Code with the current directory by typing code . at this prompt.

Easy enough!
Wrap-up
As always, thanks for reading and smash one of those share buttons to give this post some love if you found it helpful. Also, feel free to leave a comment below or follow me on twitter for daily links and tips.

Leave a Comment