
Day 10 - Using JetBrains Rider with a .NET Core Console Application
Disclaimer: I am not on the .NET Core Team. I used the tools available publicly and have no insights into the future of .NET Core. It looks very bright though. :)
Intro
A complete list of post in this series is included below :
- Day 1 - Installing and Running .NET Core on a Windows Box
- Day 2 - Taking a Look at the Visual Studio Templates for .NET Core
- Day 3 - Running a .NET Core app on a Mac
- Day 4 - Creating a NuGet Package from .NET Core app
- Day 5 - Creating a Test Project from .NET Core
- Day 6 - Migrating an existing .NET Core to csproj
- Day 7 - Creating an ASP.NET Core Web Application
- Day 8 - Using Visual Studio Code with a .NET Core Console Application
- Day 9 - Creating a .NET Core Console App inside of Visual Studio Code
- Day 10 - Using JetBrains Rider with a .NET Core Console Application
In this post, we’re going to look at how you can use JetBrains Rider with a .NET Core Console application.
What is JetBrains Rider?
JetBrains Rider is a cross-platform .NET IDE based on IntelliJ and ReSharper. If you’ve used WebStorm or customized Visual Studio before then you’ll feel right at home while installing Rider. Everything from the themes, keyboard maps and extensions feel right at home for .NET developers.
I chose to take a look at Rider as I wanted to take a look at an alternative IDE that isn’t Visual Studio that helps you write .NET Core applications. Don’t confuse this with Visual Studio Code which we took a look at in the last post as it’s an editor.
Keep in mind that Rider is an early access preview and anything is subject to change.
Install JetBrains Rider
Before we do anything, make sure that you have installed JetBrains Rider. If you haven’t downloaded it before, then you can find it here. I downloaded the EAP version 18. After it is installed, your powerful new IDE presents you with the following menu:
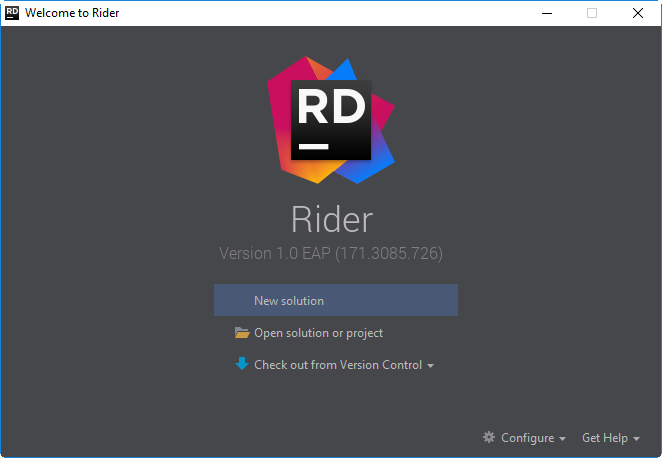
Go ahead and click on New Solution to see the following templates :
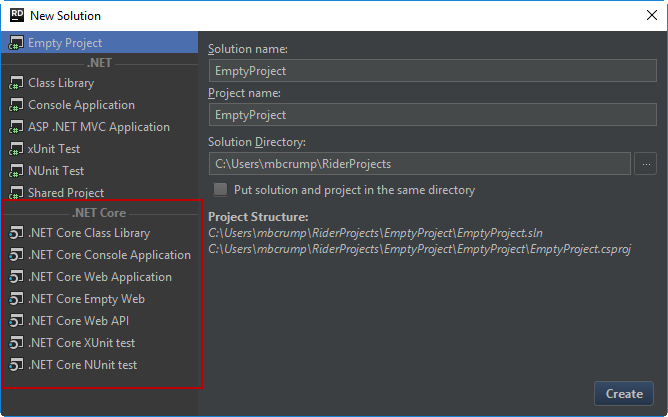
Nice! The .NET Core templates come free without doing anything!
Diving In
Select .NET Core Console Application and take a look at the files in solution explorer :
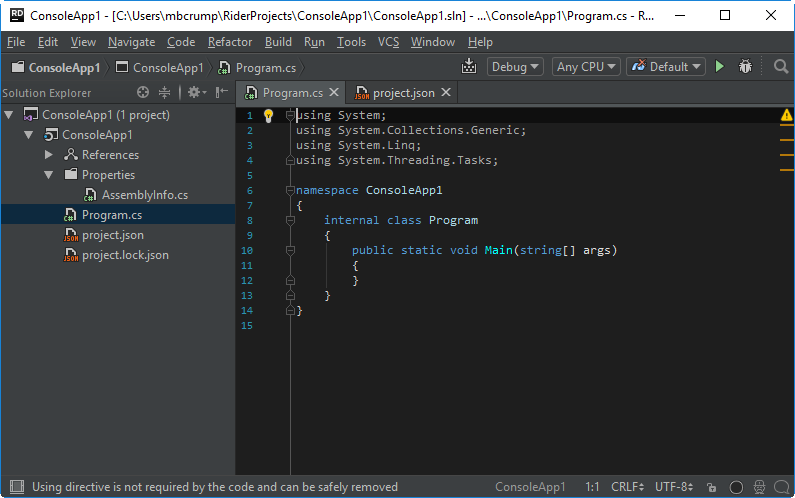
Notice the same files are created just like if you ran the dotnet new console command like we did before. There is a few differences in the Program.cs file that we’ll quickly examine:
JetBrains Rider uses the following code :
using System;
using System.Collections.Generic;
using System.Linq;
using System.Threading.Tasks;

namespace ConsoleApp
{
    internal class Program
    {
        public static void Main(string[] args)
        {
        }
    }
}
If you create a new console app from the command line then it contains the following code :
using System;

namespace ConsoleApplication
{
    public class Program
    {
        public static void Main(string[] args)
        {
            Console.WriteLine("Hello World!");
        }
    }
}
As you can see Rider contains a few extra using statements, has a different namespace, marks the Program class as internal and does not have the “Hello World” stub.
Explore the IDE
If you run the app by hitting the play button, then you’ll notice the following configuration screen pops up :
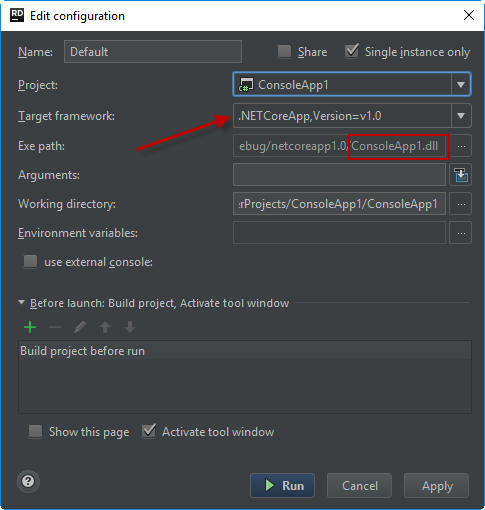
Notice that it’s using .NET Core as the framework as discussed in previous blog post and that the output is a .DLL.
Go ahead and hit apply and then run and you’ll see that it run the following command :
"C:/Program Files/dotnet/dotnet.exe" C:/Users/mbcrump/RiderProjects/ConsoleApp1/ConsoleApp1/bin/Debug/netcoreapp1.0/ConsoleApp1.dll
No surprise here. It called dotnet and passed in the .dll that it had created. We don’t have an output as there is no code.
Tip: If you ever want to know what SDK Rider is using, you could always open a command prompt and navigate to Program Files and run dotnet --info. I found this helpful as I have multiple SDKs installed.
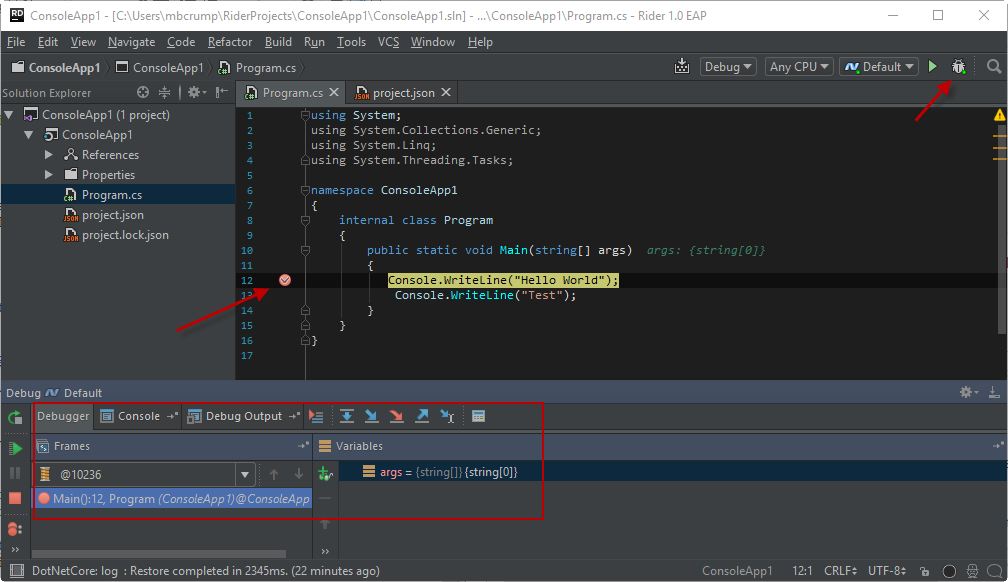
You can also debug the app, by setting your breakpoint and clicking the debug icon and examining the output window as shown below :
Wrap-up
I’m really enjoying Rider so far and it should get a lot better as the final release is around the corner. As always, thanks for reading and smash one of those share buttons to give this post some love if you found it helpful. Also, feel free to leave a comment below or follow me on twitter for daily links and tips.
Leave a Comment