Taking a look at the Windows Simulator in Visual Studio 11
Introduction
Today we are going to take a look at the Windows Simulator which ships with Visual Studio 11 and is used to debug Metro Style apps for Windows 8. I think it is important to learn about the features available in the simulator where we can better understand the way our Metro applications behave. It is also beneficial for those of us without access to a touch-screen monitor.
Before we start you can check out all of my Windows 8 Articles here.
We have three ways to debug a Metro Application
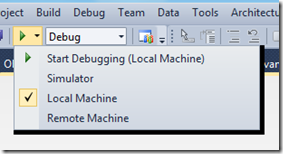
1) By default if you run a Visual Studio 11 Metro Application it will run on the local machine.
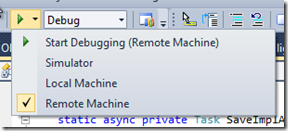
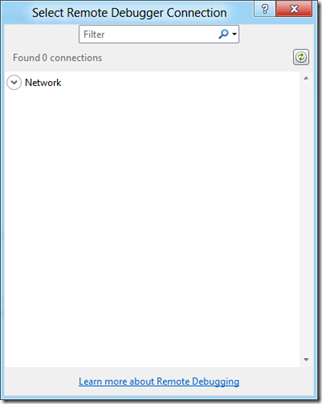
2) You can also select Remote Machine and you will be presented with the “Select Remote Debugger Connection” as shown below:
This option deserves it own blog post so for the time being just be aware that it exists.
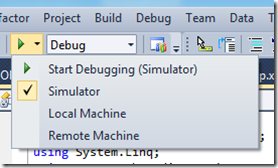
3) The third and final way is Simulator – Which is what we are going to explore today.
Hold up!
What’s the difference between a simulator and a emulator?
Let’s say you want to duplicate the behavior of an old HP calculator there are two options:
-
You write new program that draws the calculator's display and keys and when the user clicks on the keys your programs does what the old calculator did. This is a Simulator
-
You get a dump of the calculator's firmware then write a program that loads the firmware and interprets it the same way the microprocessor in the calculator did. This is an Emulator
The Simulator tries to duplicate the behavior of the device.
The Emulator tries to duplicate the inner workings of the device.
This wonderful explanation was actually taken from Carlos Gutiérrez as he explained it to StackOverflow users.
Back to the Simulator
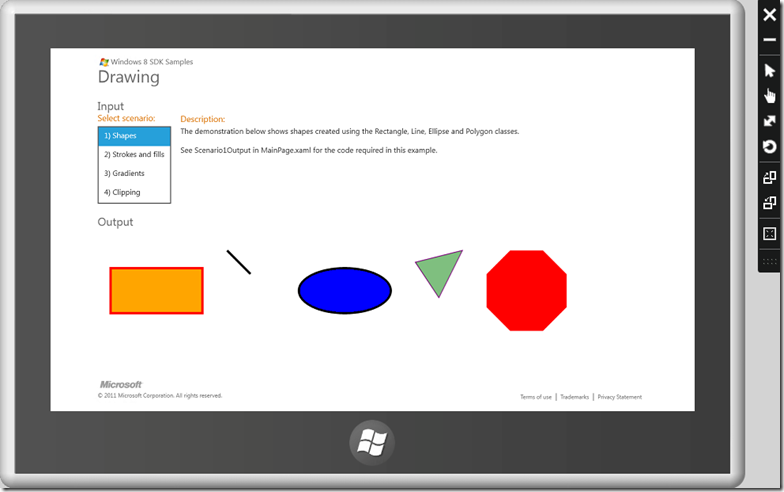
If you place a check in Simulator and run your application you will see the following:
What is important to note here is that this simulation is actually a Remote Desktop Session into your machine.
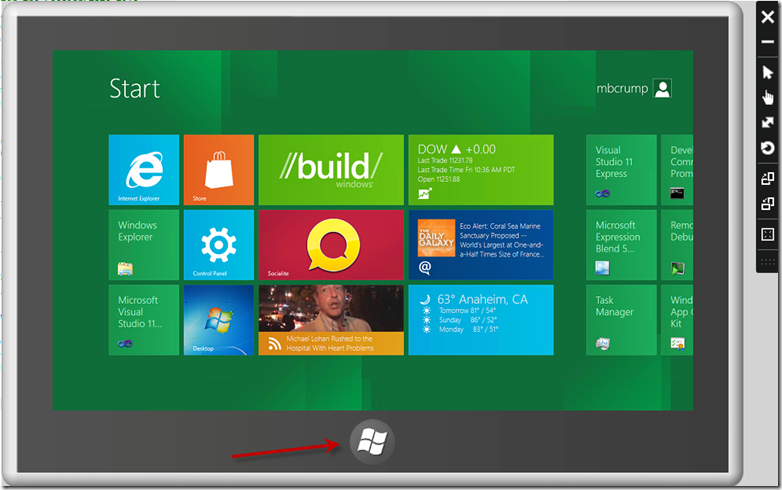
Don’t believe me? Hit the Windows Start Button in the Simulator and you will see your desktop. You can browse execute and do everything you normally do.
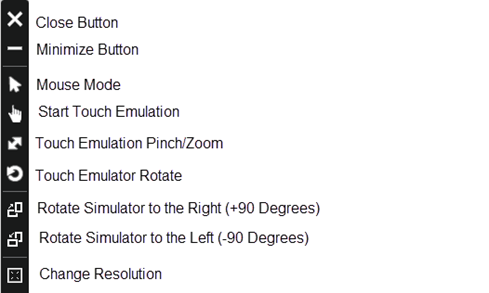
The key thing to note here is the Touch Controls located to the right of the screen. Here is a quick reference that I created defining each item:
Let’s start with the fourth item down.
Touch Emulation
As soon as you select Touch Emulation and return to the simulator you cursor will look like the following:
This mode will simulate the user swiping with a single finger – one contact.
Touch Emulation Pinch/Zoom
As soon as you select Touch Emulation Pinch/Zoom and return to the simulator you cursor will look like the following:
This mode will simulate the users using multiple fingers to pinch/zoom in – two contacts. If you click the left mouse button and rotate the wheel simultaneously the Windows Simulator will send touch events to the target application as if the user was performing a Pinch/Zoom gesture on a physical touch device. See the illustration below:




Leave a Comment