Dummies guide to creating a USB boot disk to install macOS High Sierra
Azure Tips and Tricks returns next week 10/9/17!
Introduction
The final release for macOS High Sierra is out and I needed to create a USB Bootable drive to start fresh on a new MBP that I got and thought I’d share the process.
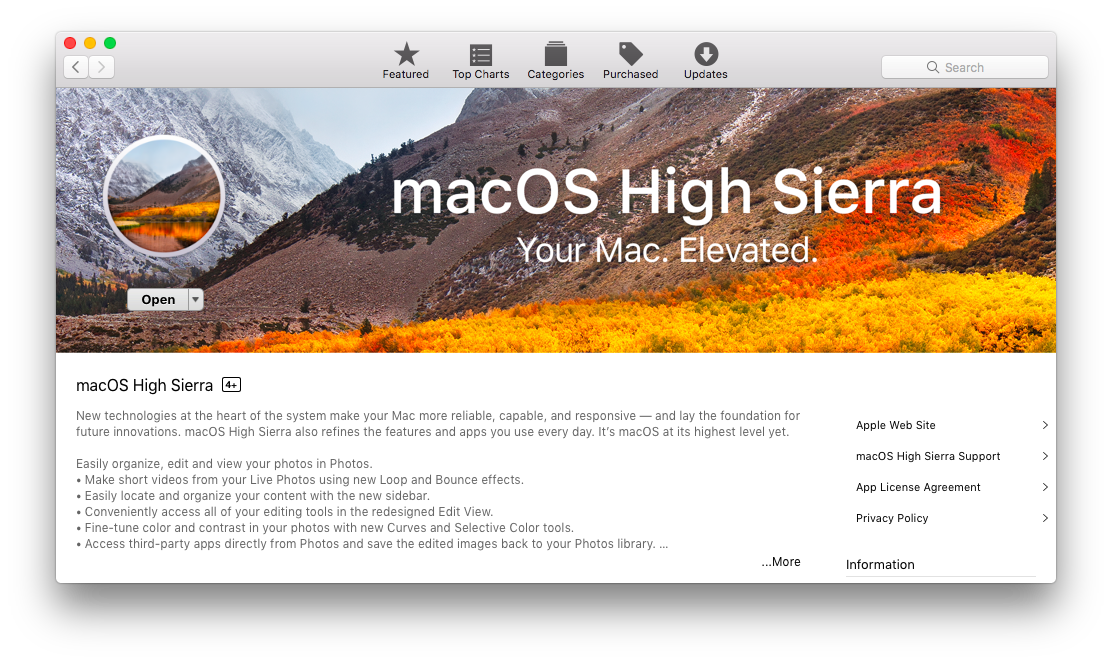
Download macOS High Sierra directly from the App Store. It’ll say Open if you have already downloaded it.

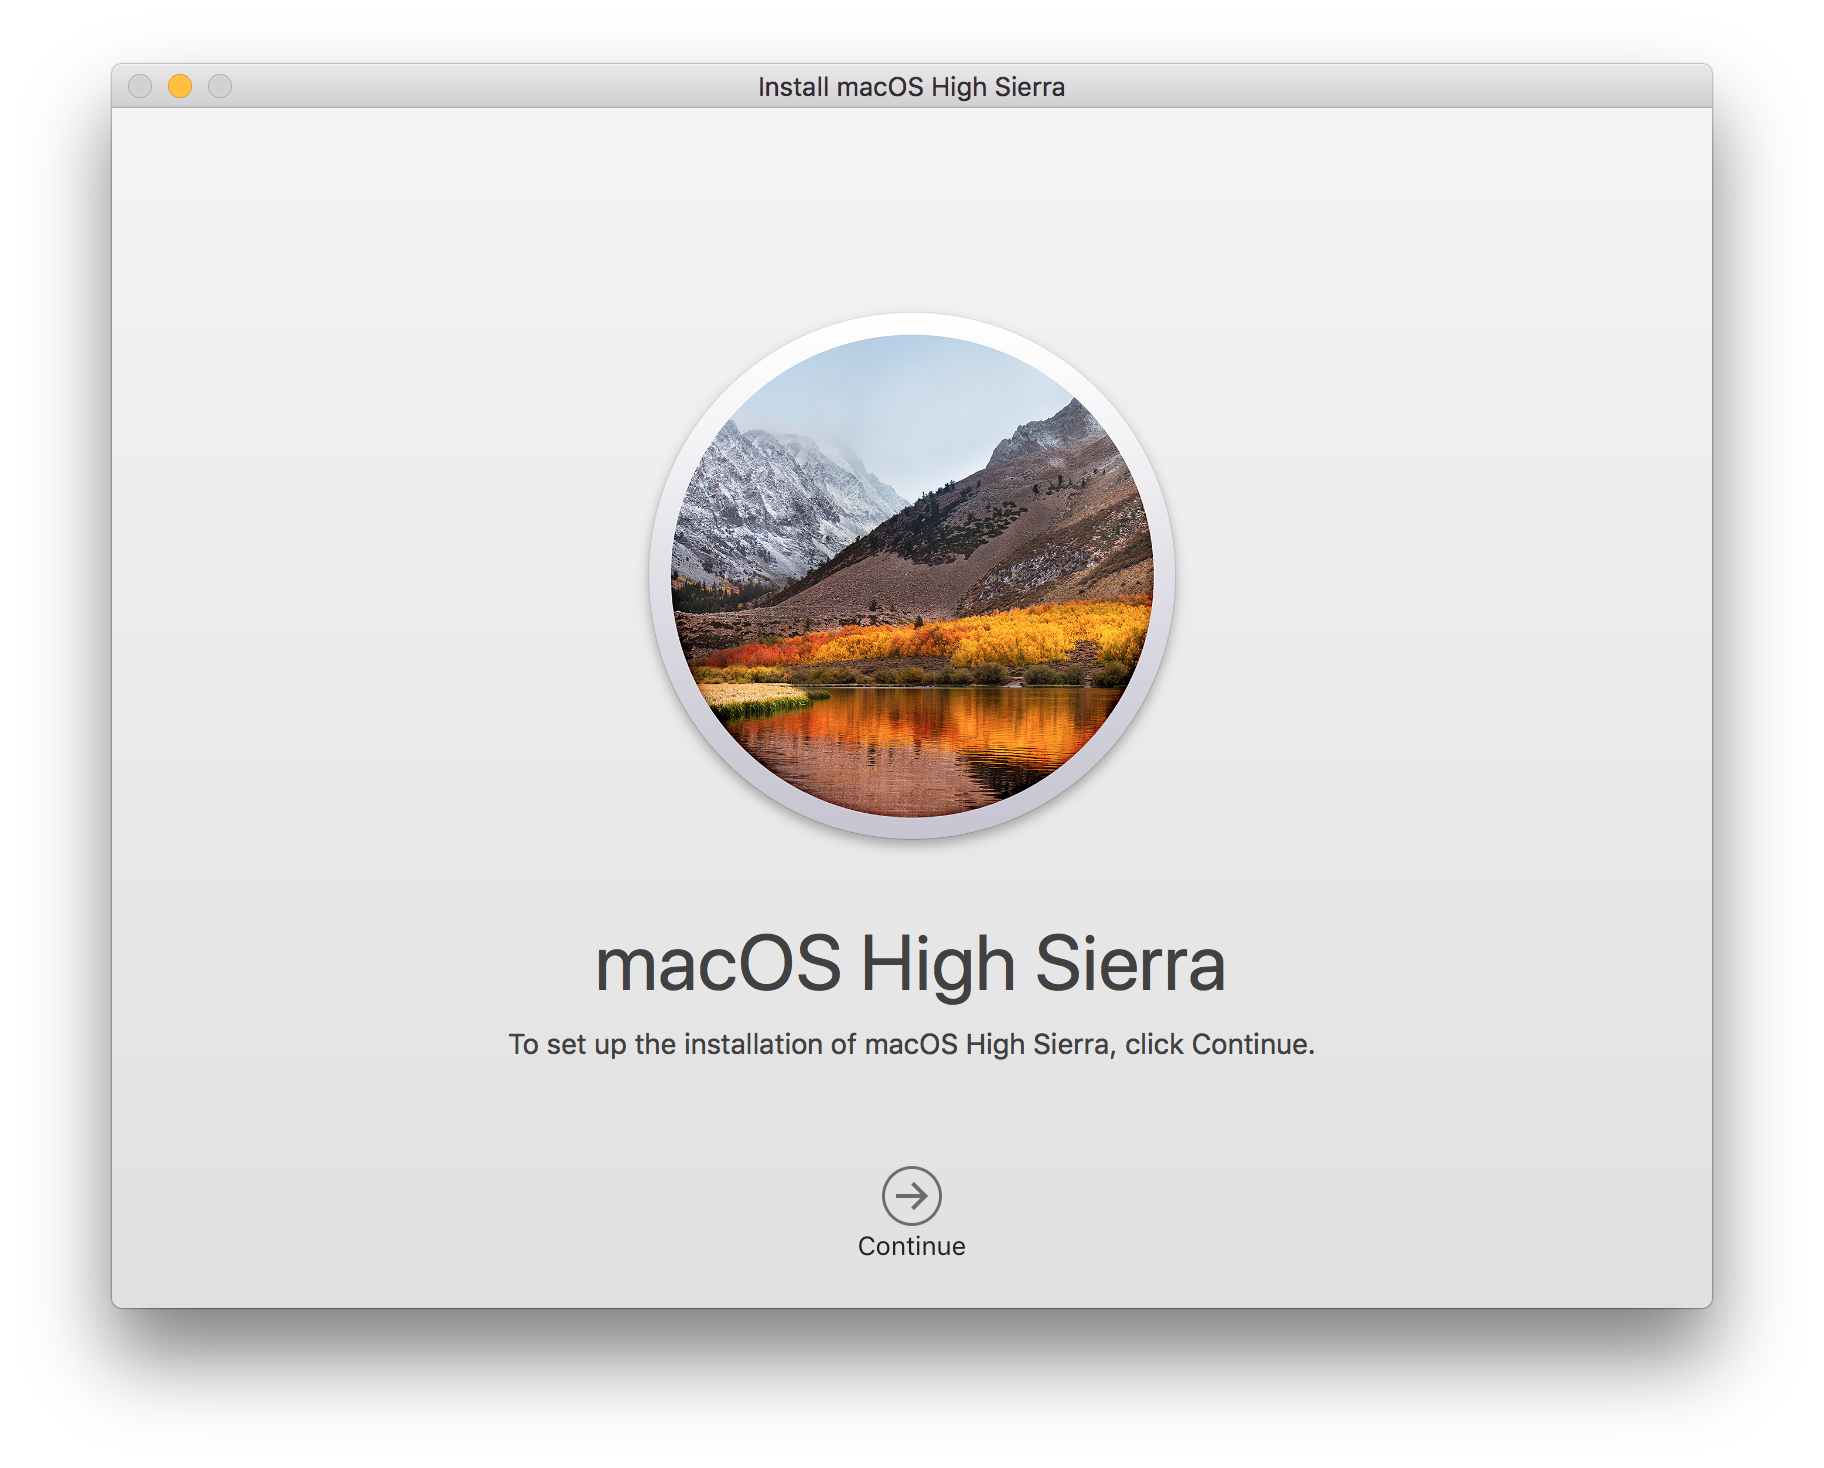
Click Open to verify the installer launches.

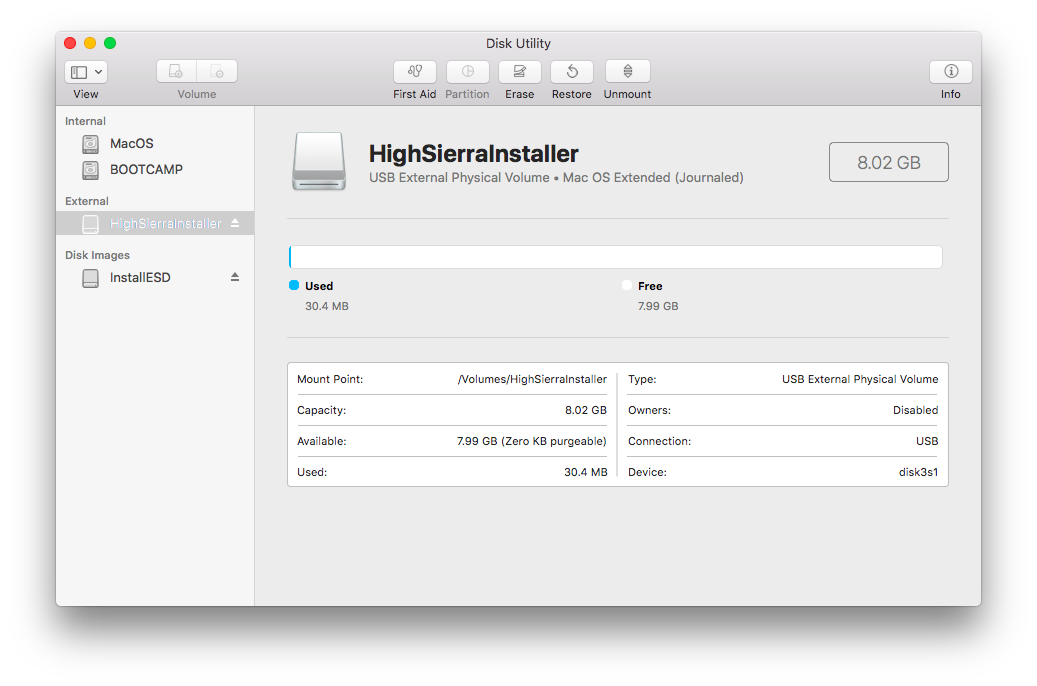
Go ahead and close the installer and insert your USB drive into your Mac. Open up the Disk Utility app by typing “Disk Utility” in spotlight search. Once you are in Disk Utility, rename the USB drive to HighSierraInstaller as shown below:

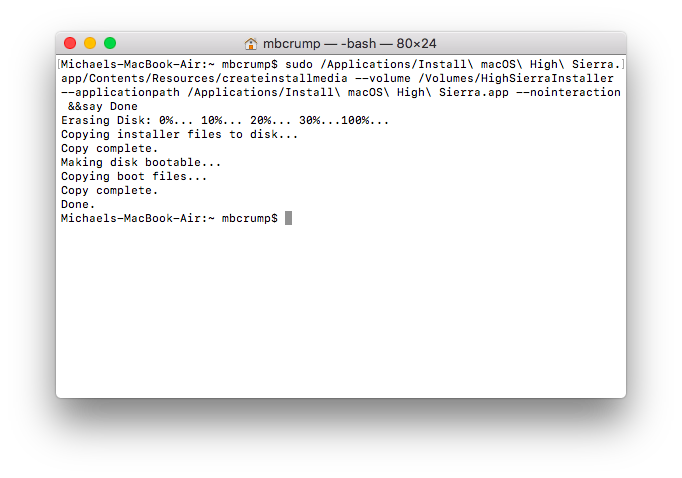
Open the Terminal app and copy and paste the following code and press enter:
sudo /Applications/Install\ macOS\ High\ Sierra.app/Contents/Resources/createinstallmedia --volume /Volumes/HighSierraInstaller --applicationpath /Applications/Install\ macOS\ High\ Sierra.app --nointeraction &&say DoneYou should see the following inside of the terminal app:

Once everything is complete, you should have a bootable USB drive that contains the final build of macOS High Sierra. Go ahead and reboot your computer and hold down the Option key and you can select “Install macOS High Sierra”.
That is all there is to it!
Like this Post?
If you’d like to learn more tips like this one, then follow me on twitter or stay tuned to this blog! Also, feel free to leave a comment below.

Leave a Comment