Azure Tips and Tricks Part 162 - ARM Templates Demystified
Like what you see?: Subscribe to my weekly email newsletter to get a recap of the latest blog posts and videos! Just scroll to the very bottom of this page and enter your email address. NO SPAM! I promise.
The Complete List of Azure Tips and Tricks
Azure Tips and Tricks - ARM Templates Demystified
Intro
I’ve been hearing that a lot of people are having trouble with ARM templates. Either they don’t understand them and don’t know how to use them, or they do use them but the templates are too hard to use. This feedback really surprised me and calls out for a quick demystification. In this post, I’m going to explain what ARM templates are and why you should care.
ARM Templates Demystified
First off, it occurred to me that the name might be confusing. ARM here doesn’t have anything to do with CPU architecture such as what is used in phones and tablets, which would be an honest misunderstanding. ARM stands for Azure Resource Manager, which is how you organize all your stuff on Azure—virtual machines, databases, storage accounts, containers, web apps, bots, and more. In Azure, we call your stuff resources.

You will tend to create many related items together in Azure, like a web app and a database will be contained in a single resource group. But what if you had to do this frequently for many different clients? Wouldn’t it be nice to have an easy way to keep track of all the repeatable groups of resources you are creating for people? Good news, this is exactly what ARM Templates do!
What are some real-world scenarios for using ARM Templates?
When you need an easy way to repeat infrastructure deployments on Azure, ARM templates are going to save you a lot of time. If you ever need to share your infrastructure with other people—like for open source projects or for blogs, tutorials, and documentation—ARM templates will be a lifesaver and will let your readers and users replicate what you did. Finally, if you just need a way to keep track of what you deployed on Azure, ARM templates are a great way to help you remember.
An ARM Template is just a JSON file
This is where ARM templates come in. ARM templates are JSON files that act like blueprints for the related resources you want to deploy together. You’ll also hear this called “infrastructure as code,” which is geek speak for being able to upload your infrastructure notes to GitHub if you want to. It’s a structured format for keeping track of your Azure infrastructure with some superpowers. The biggest ARM template superpower is that you can use templates to automate your infrastructure deployments because Azure knows how to read them.
In the example below, we are creating an ARM template that creates a Notification Hub. You’ll see that it contains things that the deployment needs such as Name, Location, etc.
{
    "$schema": "https://schema.management.azure.com/schemas/2015-01-01/deploymentTemplate.json",
    "contentVersion": "1.0.0.0",
    "parameters": {
        "namespaceName": {
            "type": "string",
            "metadata": {
                "description": "The name of the Notification Hubs namespace."
            }
        },
        "location": {
            "type": "string",
            "defaultValue": "[resourceGroup().location]",
            "metadata": {
                "description": "The location in which the Notification Hubs resources should be deployed."
            }
        }
    },
    "variables": {
        "hubName": "MyHub"
    },
    "resources": [
        {
            "apiVersion": "2014-09-01",
            "name": "[parameters('namespaceName')]",
            "type": "Microsoft.NotificationHubs/namespaces",
            "location": "[parameters('location')]",
            "kind": "NotificationHub",
            "resources": [
                {
                    "name": "[concat(parameters('namespaceName'), '/', variables('hubName'))]",
                    "apiVersion": "2014-09-01",
                    "type": "Microsoft.NotificationHubs/namespaces/notificationHubs",
                    "location": "[parameters('location')]",
                    "dependsOn": [
                        "[parameters('namespaceName')]"
                    ]
                }
            ]
        }
    ]
}
But more on that later!
Getting Started
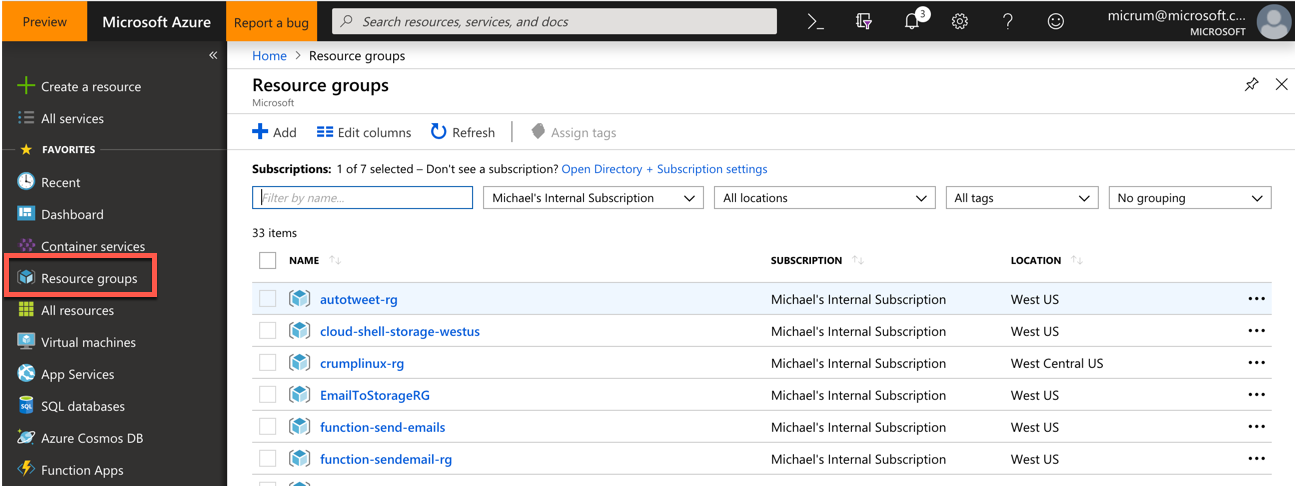
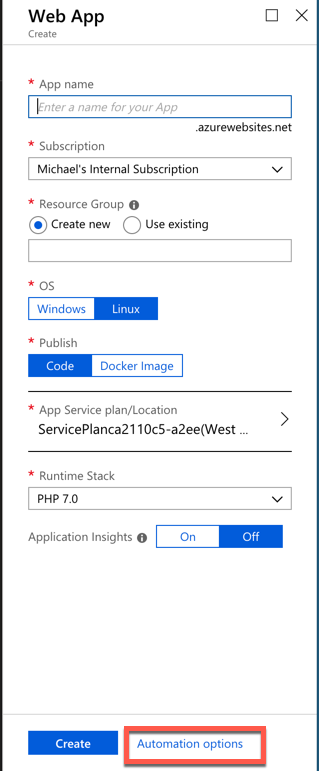
You can make an ARM template in Visual Studio, in Visual Studio Code, or in the Azure portal. The last way is probably the easiest since it walks you through the process. Start creating a resource through the portal the way you normally would, by clicking on the Create Resource on your Azure Portal Dashboard. Now select what you’d like to create. I’m going to create a Web App. Look at the bottom of this page and you’ll see Automation options.

But what does that unassuming link labeled Automation options next to it do? You’ve probably never noticed it before or been afraid to mess with it, but if you click on that link, you will be on the road to creating an ARM template for your resource. But you’ll have to come back tomorrow for Part 2!
ATTENTION: If you liked this post and want to suggest future topics of Azure Tips and Tricks then complete this survey.
Want more Azure Tips and Tricks?
If you’d like to learn more Azure Tips and Tricks, then follow me on twitter or stay tuned to this blog! I’d also love to hear your tips and tricks for working in Azure, just leave a comment below.

Leave a Comment