Azure Tips and Tricks Part 158 - Part 2 Create Thumbnail Images with Azure Functions and Azure Storage
ATTENTION: Help shape the future of Azure Tips and Tricks by telling me what you’d like for me to write about! Help me help you by filling out this quick survey.
The Complete List of Azure Tips and Tricks
Create Thumbnail Images with Azure Functions and Azure Storage
In this mini-series, we’re going to create an Azure Function that detects when a new image is added to Azure Storage and automatically creates a thumbnail image for us.
- Azure Tips and Tricks Part 157 - Part 1 Create Thumbnail Images with Azure Functions and Azure Storage
- Azure Tips and Tricks Part 158 - Part 2 Create Thumbnail Images with Azure Functions and Azure Storage
Part 3 Time to Code
Make sure you read Part 1 Create Thumbnail Images with Azure Functions and Azure Storage before proceeding with this post.
Inside of your Azure Function app in Visual Studio, open your local.settings.json, now add the following value of StorageConnection with your ConnectionString found in the previous part:
{
    "IsEncrypted": false,
    "Values": {
        "AzureWebJobsStorage": "UseDevelopmentStorage=true",
        "AzureWebJobsDashboard": "UseDevelopmentStorage=true",
        "StorageConnection": "Enter Your Access Key From the Previous Part HERE"
  }
}
Be sure to include the NuGet package called ImageResizer
Copy the following code into your Function1.cs:
using ImageResizer;
using Microsoft.Azure.WebJobs;
using Microsoft.Azure.WebJobs.Host;
using System.IO;

namespace ImageResizer1
{
    public static class Function1
    {

        [FunctionName("Function1")]
        public static void Run(
            [BlobTrigger("originals/{name}", Connection = "StorageConnection")]Stream image,
            [Blob("thumbs/s-{name}", FileAccess.Write, Connection = "StorageConnection")]Stream imageSmall,
        TraceWriter log)
        {
        var instructions = new Instructions
        {
            Height = 320,
            Width = 200,
            Mode = FitMode.Carve,
            Scale = ScaleMode.Both
        };
        ImageBuilder.Current.Build(new ImageJob(image, imageSmall, instructions));

        log.Info($"C# Blob trigger function Processed blob\n Name:{image} \n Size: {image.Length} Bytes");
        }

    }
}
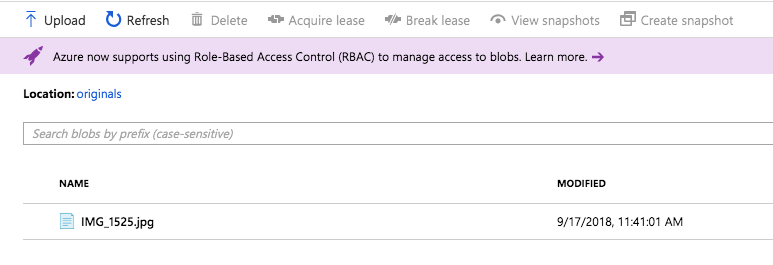
Now run the Application by pressing F5 and switch over to the Azure Portal and open your Storage account that you just created. Click on Blobs and the originals Container and you’ll now want to click Upload and select a file on your physical disk.

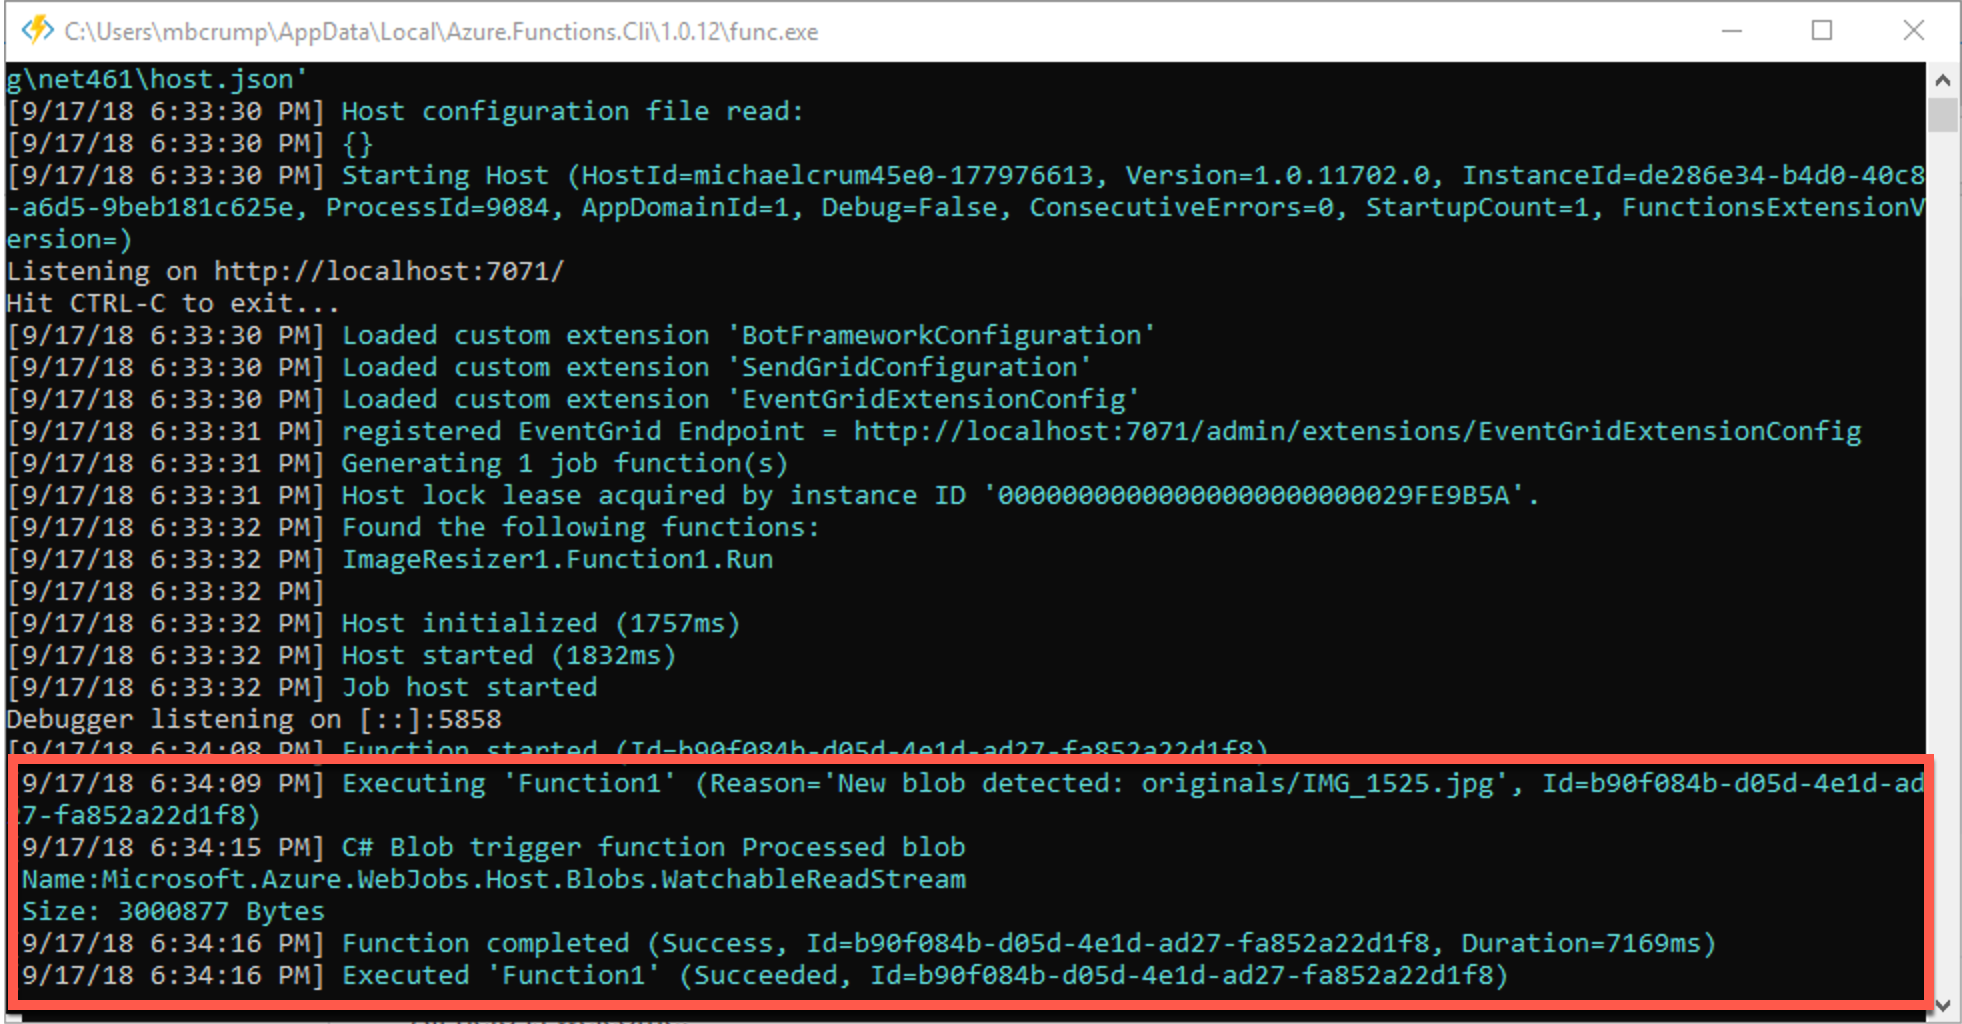
Make note of the filename and check your running Azure Function.

If you switch over to the thumbs container, you should see a new file with the format that we specified.

If you click on the filename, you can see the Properties and even Download the file.
Success! We’ve accomplished this task in the time it would take to watch a 30-minute TV Show.
ATTENTION: If you liked this post and want to suggest future topics of Azure Tips and Tricks then complete this survey.
Want more Azure Tips and Tricks?
If you’d like to learn more Azure Tips and Tricks, then follow me on twitter or stay tuned to this blog! I’d also love to hear your tips and tricks for working in Azure, just leave a comment below.

Leave a Comment