2 Good Reasons to update to the latest Mango Beta 2 Refresh Update
So you grabbed the latest Mango Build and installed it on your phone. Now your probably thinking Why should I update to the latest Mango Beta 2 Refresh? Well I will give you two good reasons.
- New Screen Shot Tool built into the Emulator
- Marketplace Test Kit
Screen Shot Tool
You may be thinking there are a hundred ways to take a screen shot. I personally used SnagIt but this involved a lot of steps.
- Load up SnagIt.
- Make sure my Emulator was visible.
- Click the “Capture Button” in SnagIt.
- Resize the Image to the proper dimension for the MarketPlace.
- Save the file as a .PNG for the MarketPlace.
Now Microsoft has made this much easier.
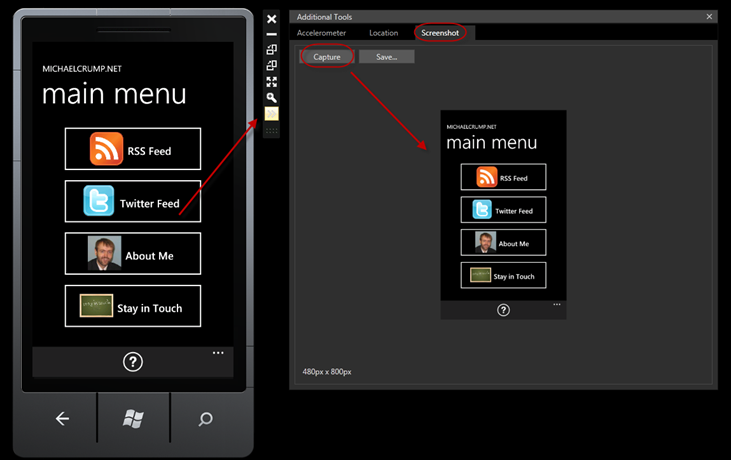
Fire up your WP7 project and run it. After the emulator loads then click on the >> button and you will see “Additional Tools”. A new tab is located called “Screenshot”. If you click the Capture button then the image will display in the preview window below as shown.
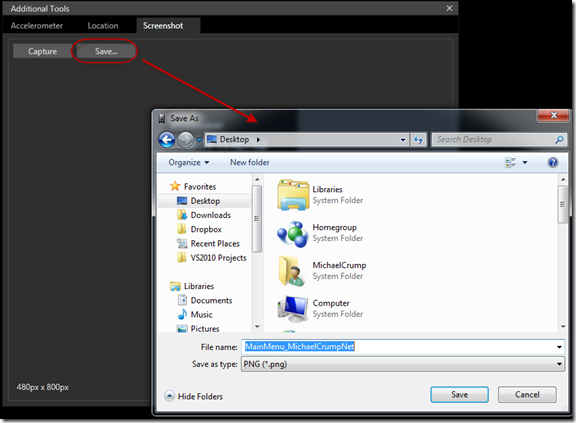
Go ahead and click the “Save” button.
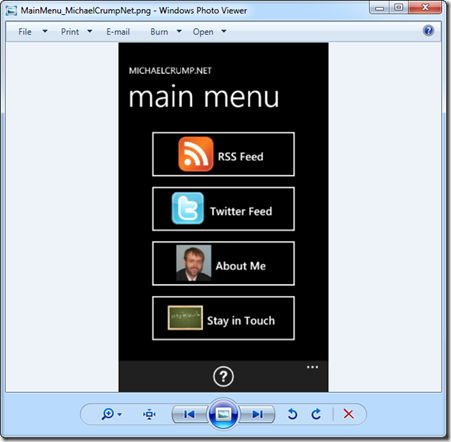
Now if you examine the file that it saved then you will see it is now in .PNG format.
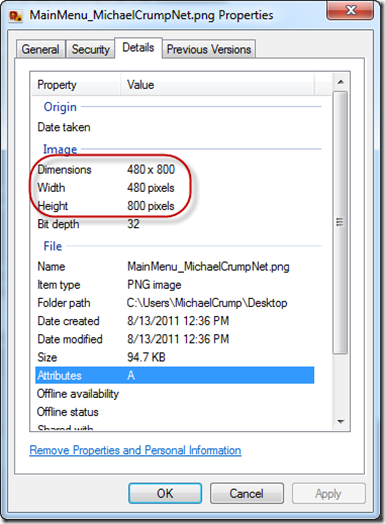
You can now click the properties and see the proper width and height are set for you.
At this point the image is ready for the marketplace.
NOTE: The only thing I wish was added to this functionality was a way to “Capture” multiple images and save them all at once. Right now the Screenshot tool will only allow one at a time.
Marketplace Test Tool
Before we get started let me answer the question. “What is it?” The Marketplace Test Kit provides test cases that help prepare your application for the Marketplace submission process. These test do not guarantee a pass but will surely help increase your chances.
Let’s get started:
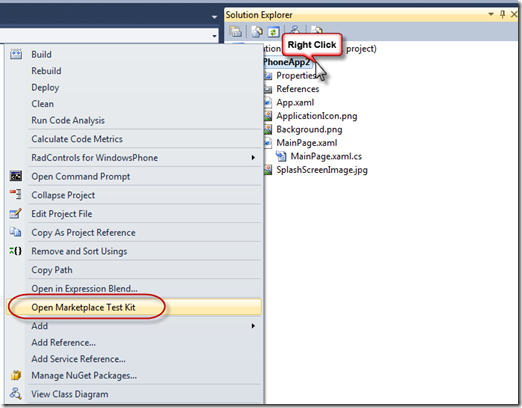
If you right click on your project then you will notice a new option called “Open Marketplace Test Kit”.
NOTE: If you have a pre-Mango WP7 project then you will need to upgrade it first before seeing this option.
The first thing to check is to look at the bottom of your screen for this message.
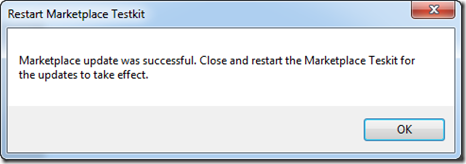
If you see it then you will definitely want to go ahead and click Update. VS2010 will let you know when it’s ready.
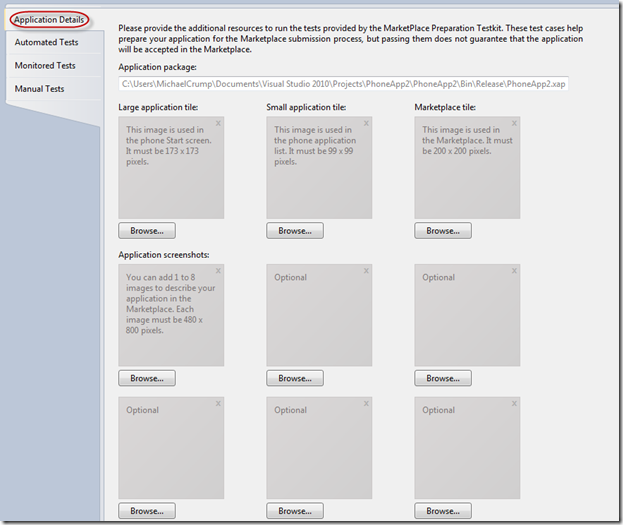
Once updated you should be on the “Application Details” screen.
Now you just click the browse button under each one and it will verify your image is the proper dimension.
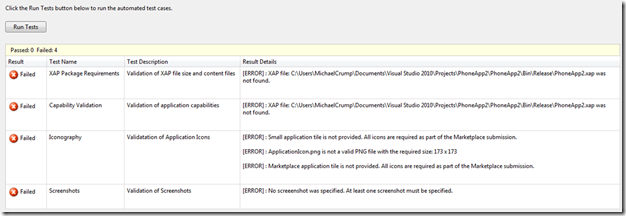
Next up is “Automated Tests”. This is an easy one as all you have to do is simply click the “Run Tests” button.
But let me warn you that if your project is not set to “Release” then you will get the following errors.



Leave a Comment