
Create a USB bootable drive to install macOS Sierra
Introduction
The GM release for macOS Sierra came out today and if you’re a registered developer then you install it now. I decided that I’d like to create a USB bootable drive and install it on a freshly formatted hard drive. Here are the steps that I took.
Note: These instructions will work when it is publicly released as well.
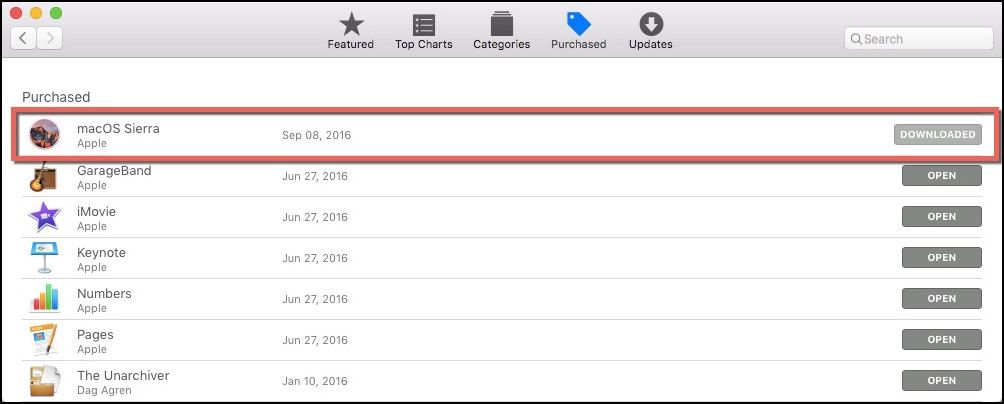
I began by downloading the installer directly from the store as shown below:
It will automatically launch the following screen:
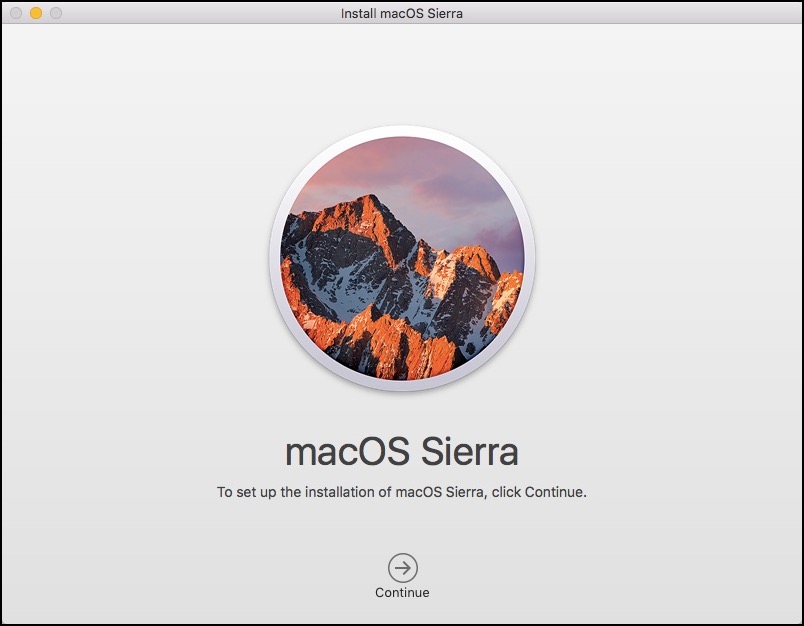
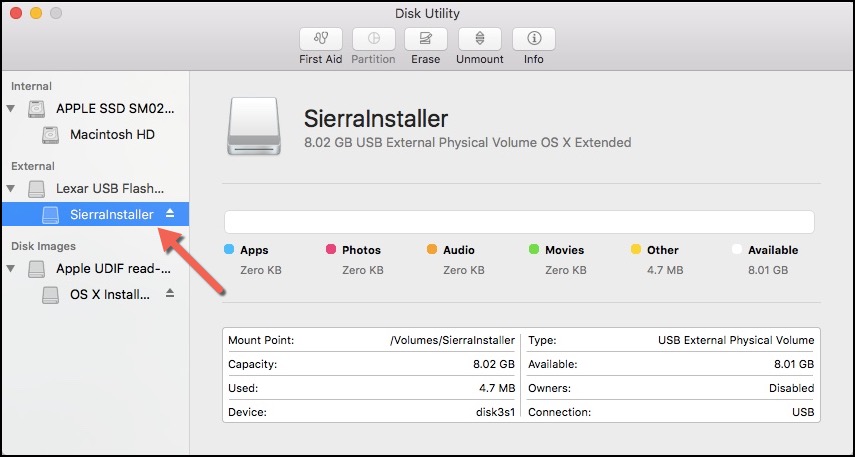
Go ahead and close that screen and insert your USB drive into your Mac. Open up the Disk Utility app and rename the USB drive to “SierraInstaller” as shown below:
Open the terminal app and copy and paste the following code and press enter:
sudo /Applications/Install\ macOS\ Sierra.app/Contents/Resources/createinstallmedia --volume /Volumes/SierraInstaller --applicationpath /Applications/Install\ macOS\ Sierra.app --nointeraction &&say DoneYou should see the following inside of the terminal app:
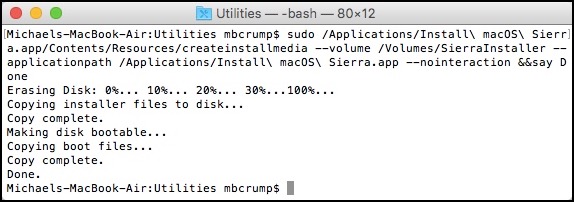
Once everything is complete, you should have a bootable USB drive that contains the final build of macOS Sierra. Go ahead and reboot your computer and hold down the Option key and you can select “Install macOS Sierra”.
That is all there is to it!
Like this Post?
As always, thanks for reading and smash one of those share buttons to give this post some love if you found it helpful. Also, feel free to leave a comment below.
Leave a Comment